

TL;DR:
- Successful t-shirt designs focus on clear, niche-oriented concepts rather than complex graphics.
- Proper materials, simple design, and correct finishing ensure durability and long-lasting quality.
- Niche and vintage styles outperform overly technical designs in online sales and engagement.
Designing a personalized graphic t-shirt sounds simple until you’re staring at a blank canvas with no clear plan. Most people either overthink the artwork or rush the printing process, and the result is a shirt that fades after a few washes or just doesn’t connect with anyone. The personalized apparel market is growing fast, and standing out takes more than a good idea. It takes the right materials, a smart design process, and finishing steps that protect your work. Whether you’re making a one-of-a-kind gift, launching a small brand, or just expressing yourself, this guide walks you through every step from concept to a durable, eye-catching final product.
Table of Contents
- What you need to get started with personalized t-shirt design
- Designing your shirt: Concept to ready-to-print artwork
- Transferring your design: Methods and step-by-step instructions
- Finishing touches and ensuring your t-shirt lasts
- Our take on what really makes custom t-shirt design stand out
- Bring your custom t-shirt vision to life
- Frequently asked questions
Key Takeaways
| Point | Details |
|---|---|
| Pick the right tools | Having the right fabric, transfer method, and design software makes the process easier and more durable. |
| Keep designs simple | Clear, niche-focused graphics often outperform complex art and last longer after washing. |
| Follow proven steps | A step-by-step process from sketch to print reduces mistakes and boosts your chance of a standout shirt. |
| Prioritize care and finishing | How you cure, wash, and handle your shirt after printing will extend its lifespan up to 100 washes. |
What you need to get started with personalized t-shirt design
Before you open any design software or pick up a marker, you need the right foundation. The tools and materials you choose at the start will shape everything from how your design looks to how long it lasts. Skipping this step is one of the most common reasons first-time creators end up with disappointing results.
Here’s what you’ll need to get started:
- Blank shirts: 100% cotton is the gold standard for print quality and breathability. Cotton-polyester blends work well too, especially for athletic or fitted styles. Avoid synthetic-heavy fabrics for heat transfers since they can warp under high temperatures.
- Design software: Free tools like Canva or GIMP work for beginners. Adobe Illustrator or Photoshop give you more control for professional results.
- Transfer paper or a printing service: Iron-on transfer paper is budget-friendly for one-offs. For sharper results, use a local or online print-on-demand service.
- Heat press or iron: A heat press gives consistent pressure and temperature. A household iron works in a pinch but produces less reliable results.
- Optional extras: Fabric markers, stencils, and AI-powered design tools can speed up the creative process or add hand-crafted detail.
Choosing the right base shirt matters more than most people realize. A heavier fabric weight (around 5-6 oz per square yard) holds up better over time and gives prints a more premium feel. Understanding t-shirt design impact from the start helps you make smarter choices about both the blank and the artwork.
| Tool/Material | Beginner Option | Pro Option |
|---|---|---|
| Blank shirt | Gildan 100% cotton | Bella+Canvas premium blend |
| Design software | Canva (free) | Adobe Illustrator |
| Printing method | Iron-on transfer paper | DTF/DTG service |
| Heat application | Household iron | Heat press machine |
| Design inspiration | Pinterest, social media | T-shirt trends 2026 |
Pro Tip: Keep your first design simple and bold. Niche and vintage shirts dominate Etsy sales, with top sellers earning $450-900 per month at $24-35 per shirt, and they almost always feature clean, focused graphics rather than busy artwork.
Designing your shirt: Concept to ready-to-print artwork
With your materials and workspace ready, it’s time to start creating the centerpiece: your custom design. This is where most people either get stuck or make choices they regret later. A strong design starts with a clear idea, not a complicated one.
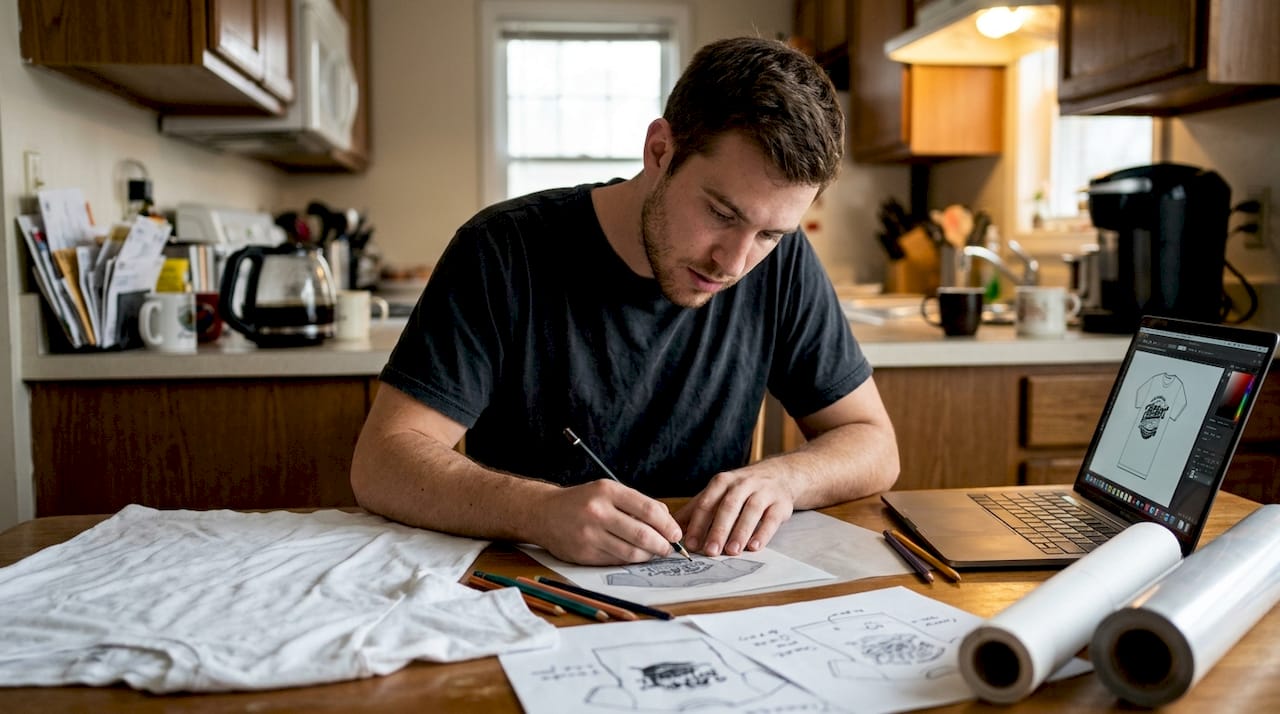
Start by identifying your inspiration source. Personal passions, niche hobbies, and vintage aesthetics are three of the most powerful wells to draw from. A shirt about a specific hobby, fandom, or local community instantly resonates with a defined audience. Generic slogans rarely connect the way a specific, passion-driven image does.
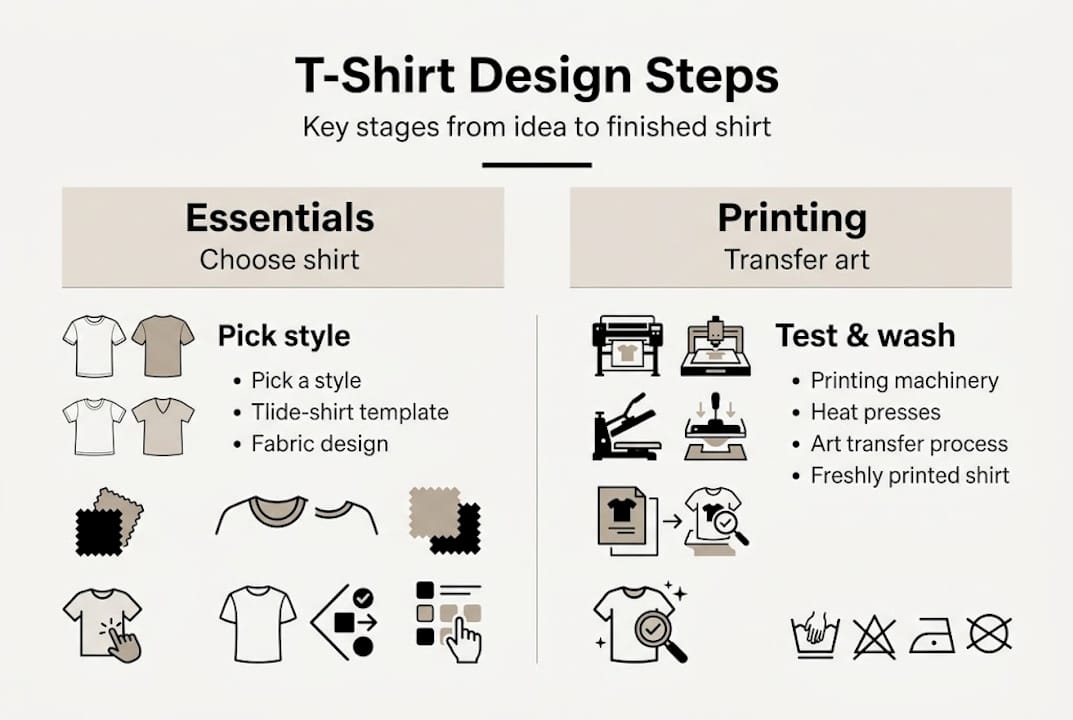
Here’s a simple step-by-step design process:
- Brainstorm: Write down 10 ideas related to your theme. Don’t filter yet.
- Sketch: Draw rough thumbnails by hand. Even stick figures work at this stage.
- Digitize: Recreate your best sketch in design software or use an AI art generator to build on your concept.
- Refine for print: Adjust contrast, simplify details, and check that the design reads clearly at small sizes.
- Prep your file: Export as a high-resolution PNG (300 DPI minimum) with a transparent background.
For print to work well, your design needs strong contrast against the shirt color, clean edges, and no tiny details that will blur when printed. Overly complex graphics are one of the biggest pitfalls. They’re harder to print cleanly, they fade faster, and they rarely resonate as strongly as a sharp, simple image. Check out unique graphic apparel tips to see how successful designers keep their work focused.
“Niche-specific designs consistently outperform generic, overly technical ones in engagement and sales.”
If you’re drawn to older aesthetics, the retro graphic style guide is a great resource. AI and vintage t-shirt trends can boost buyer engagement by 22-33%, making them smart starting points for anyone designing with sales in mind. You can also browse 2026 bestseller shirts to see what’s actually moving.
Pro Tip: Use trending styles as a starting point, then add a personal twist. A design that feels both current and specific to a community is far more memorable than one that chases trends without a unique angle.
Transferring your design: Methods and step-by-step instructions
Once you’re happy with your design file, it’s time to bring your vision to life through printing or transferring. The method you choose affects cost, quality, durability, and how much equipment you need. Understanding your options upfront saves you from costly mistakes.
Here’s a comparison of the three main methods:
| Method | Cost per shirt | Equipment needed | Best for | Durability |
|---|---|---|---|---|
| Screen printing | Low (bulk) | Screens, squeegee, ink | Large batches (20+) | Excellent |
| DTF (direct-to-film) | Medium | DTF printer or service | Small runs, complex art | 50-100 washes |
| DTG (direct-to-garment) | Medium-high | DTG printer or service | Single items, photos | 50-100 washes |
For most hobbyists and small business owners, DTF or DTG is the practical choice. DTF and DTG shirts can last 50-100 washes on average, while screen printing excels for bulk orders where durability per dollar matters most.
Here’s how to apply a DTF transfer at home:
- Pre-wash and dry your blank shirt to remove sizing (factory coating).
- Pre-heat your heat press to the recommended temperature (usually 300-320°F).
- Position the shirt flat on the press platen.
- Place the DTF transfer film face-down on the shirt.
- Press for 10-15 seconds with firm, even pressure.
- Peel the film slowly while still warm (hot peel) or after cooling (cold peel), depending on the film type.
- Do a second press with a Teflon sheet for 5 seconds to seal the transfer.
For guidance on keeping your finished shirt looking sharp, the t-shirt care guide covers everything from washing to storage. If you’re deciding which method fits your goals, the best-selling t-shirt guide breaks down what actually sells and why.
Pro Tip: Use screen printing when you’re making 20 or more identical shirts. Use DTF or DTG for small runs, one-offs, or designs with lots of colors and gradients.
Finishing touches and ensuring your t-shirt lasts
After transferring your design, it’s important to lock in your work and make it last. The finishing process is where a lot of people cut corners, and it’s exactly where shirts start to crack, fade, or peel prematurely.
The first step after printing is curing. For heat-applied transfers, a second press with a Teflon sheet seals the ink into the fabric fibers. For DTG prints, a heat cure at around 320°F for 90 seconds is standard. Skipping this step can cut your shirt’s wash life in half.
“Your shirt’s lifespan depends on care as much as print method. Don’t skip finishing steps!”
Here are the essential do’s and don’ts for washing and wearing:
Do:
- Wash inside out in cold water
- Use a gentle cycle
- Air dry or tumble dry on low heat
- Store folded, not hung, to prevent stretching
Don’t:
- Use bleach or fabric softener
- Wash in hot water
- Iron directly on the printed area
- Dry clean unless the label specifically allows it
Simple designs consistently outperform complex ones in durability tests, with DTF and DTG prints lasting up to 100 washes when properly cared for. Fewer ink layers mean less cracking over time. For a deeper look at keeping your graphics vibrant, explore long-lasting t-shirt care and browse graphic apparel types to understand how different fabrics and print styles age differently.
Pro Tip: Before gifting or selling a shirt, do a test wash. It’s the fastest way to catch any adhesion issues before they become someone else’s problem.
Our take on what really makes custom t-shirt design stand out
Having walked through every practical step, here’s an honest perspective from watching what actually works in the market: the designs that get the most love are almost never the most technically impressive ones.
The shirts people wear repeatedly, share photos of, and buy as gifts tend to share one quality: they feel like they were made for someone specific. A design built around a niche hobby, a shared memory, or a tight-knit community hits differently than a polished but generic graphic. Simple, niche shirts consistently outperform generic, overly technical designs in both engagement and sales.
Overly intricate artwork doesn’t just fade faster physically. It also fades from people’s attention faster. Clarity and intention outlast complexity every time, both on the shirt and in the mind of the person wearing it. We’ve seen this pattern repeat with makers who start by honoring a personal connection rather than chasing what looks impressive.
The brands and creators who build real followings tend to focus on graphic design and self-expression rather than technical complexity.
Pro Tip: Before you finalize any design, ask yourself: would someone in your target passion group instantly recognize and feel this shirt? If the answer is yes, you’re on the right track.
Bring your custom t-shirt vision to life
Ready to apply your new design skills or get started even faster? Whether you want to see what polished, niche-focused graphic tees look like in practice or you need a spark of seasonal inspiration, 3 Wizard Clothing has you covered.
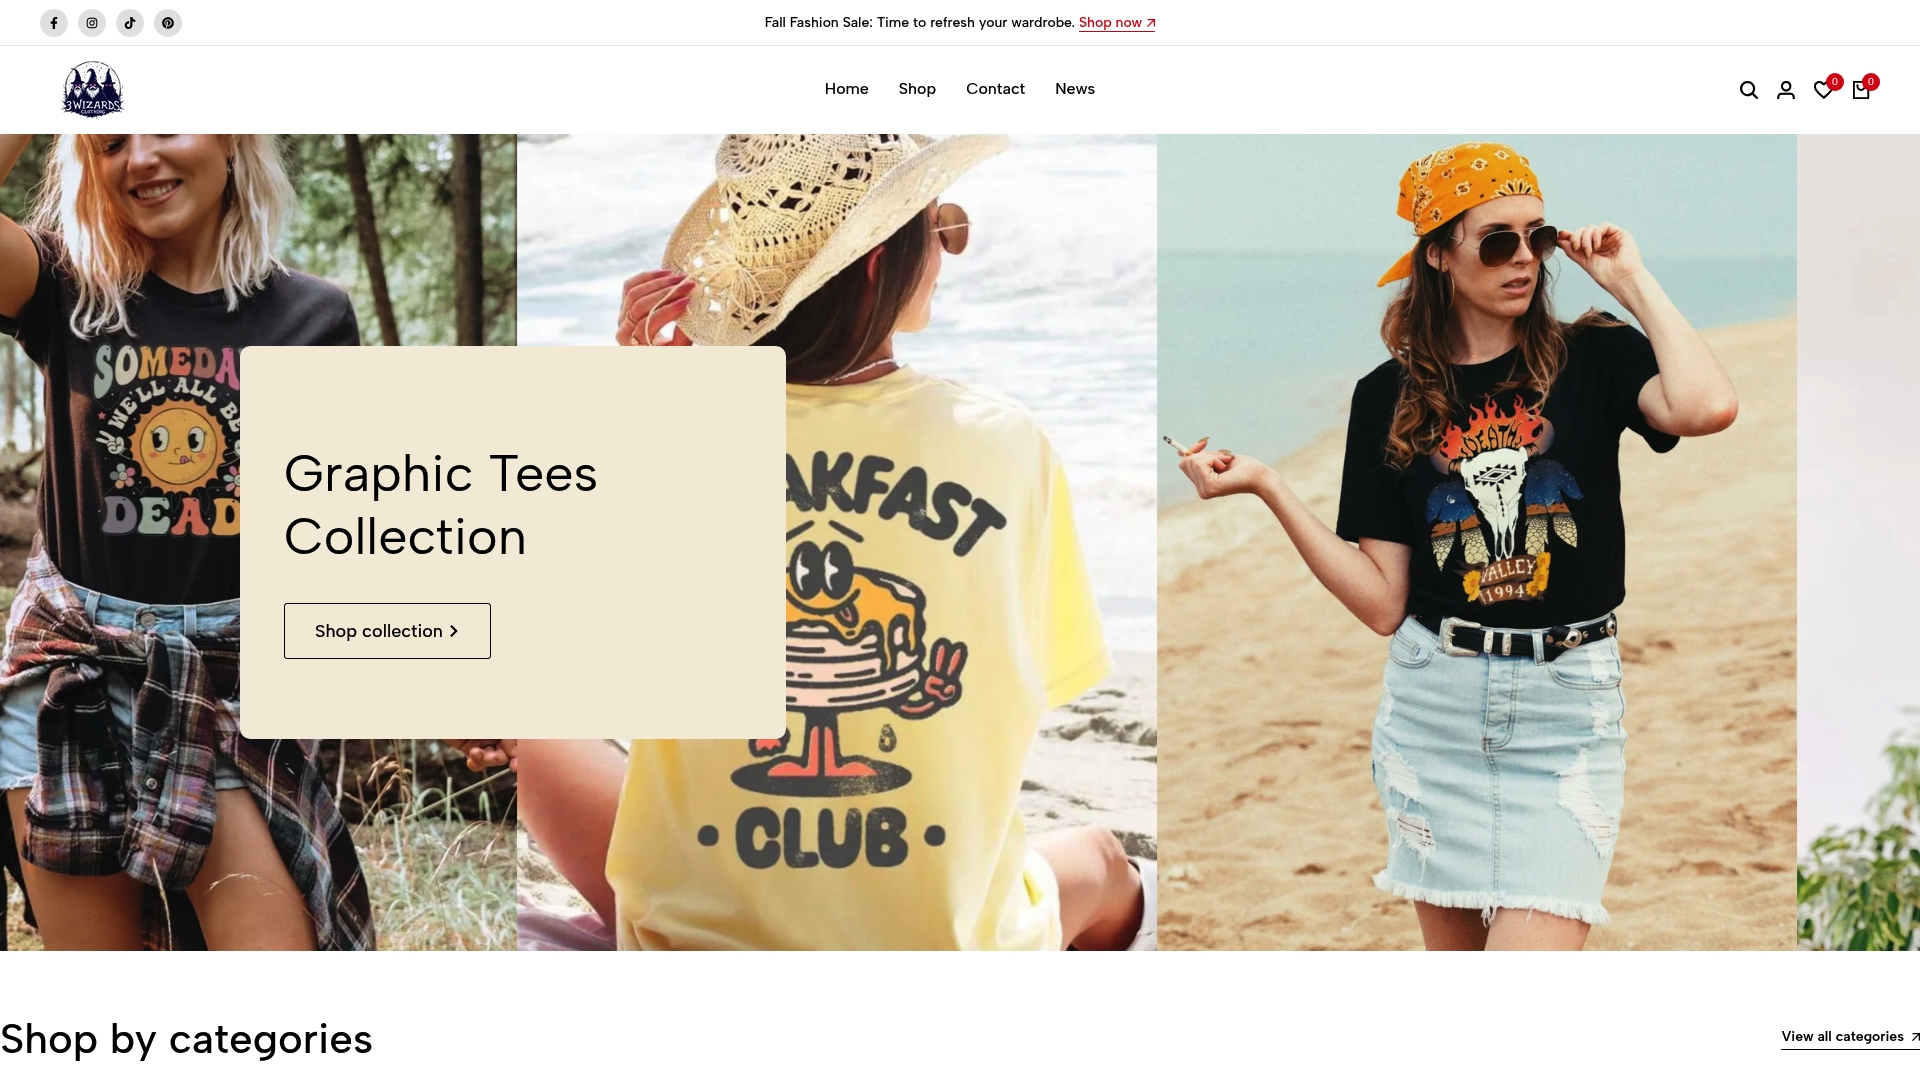
From cozy fall graphics to bold niche collections, the 3 Wizard Clothing store is packed with designs that show exactly what focused, intentional artwork looks like on a quality garment. If you’re looking for seasonal inspiration before designing your own, the fall graphic tee collection is a great place to start. Browse the full range, get inspired, and bring your own creative vision to life with confidence.
Frequently asked questions
What’s the easiest method for beginners designing their first t-shirt?
Direct-to-film (DTF) or direct-to-garment (DTG) transfers are beginner-friendly because they require minimal setup and produce solid results. DTF and DTG methods are suitable for beginners and last 50-100 washes with proper care.
How do I make my t-shirt design last longer after printing?
Wash your shirt inside out in cold water and air dry it to keep graphics vibrant. Proper washing extends the life of printed shirts, especially with DTF and DTG methods, up to 100 washes.
What makes a personalized t-shirt sell well online?
Shirts with simple, niche-specific, or vintage designs consistently outperform generic ones in both sales and engagement. Niche hobby and vintage shirts are top performers, and AI and vintage trends can boost engagement by 22-33%.
Can I use AI tools for t-shirt design?
Yes, AI-powered art tools can help you generate trendy, high-engagement graphic ideas quickly for personalized shirts. AI trends drive 22-33% higher engagement with t-shirt buyers, making them a smart addition to your creative process.
Recommended
- Step-by-step t-shirt care: keep graphics vibrant & lasting – 3 Wizard Clothing
- Role of T-Shirt Graphic Design: Shaping Self-Expression – 3 Wizard Clothing
- How to Choose Graphic Tees for Unique Style Easily – 3 Wizard Clothing
- How to Choose Graphic Tee Gifts for Every Occasion – 3 Wizard Clothing
- T-shirt design checklist for print-ready, profitable apparel – Transfer Kingz


